Video Tutorial: Inserting external 3D objects into folding sequences
Video: Inserting external 3D objects into a 3D folding sequences
Click the icon to watch the video. Running time: 2:56 min.
NOTE: Before you start inserting an external 3D object into a folding sequence, consider how you want to position it.
PROCEDURAL STEPS
Open the 3D folding sequence drawing in which you want to insert an external 3D object.
(Optional) Click External 3D Object.
NOTE: Skip this step if you have just inserted a 3D object into the project and proceed with inserting it into a folding sequence.
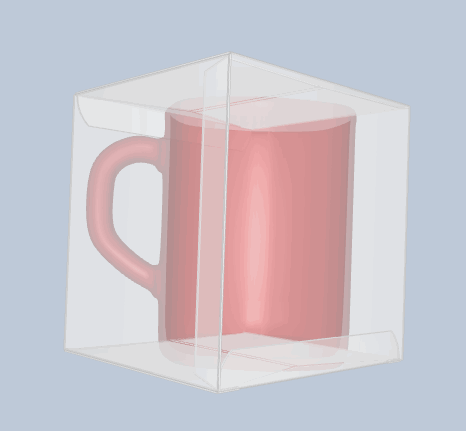
In the 3D Objects dialog box, drag the selected object into the 3D drawing, and position it onto the panel on which you want to insert the external object.
(Optional) Consider the positioning of the external object by moving it around in the 3D drawing: this will give you visual ideas of the available positioning options.
In the 3D drawing, click where you want to position the external object.
This is an intermediate positioning, which limits the range of available positioning options to those available for the selected panel. At this step, a contextual edit bar appears below the toolbar, in which you can set the positioning of the external object into the selected panel.
(Optional) Consider the positioning of the external object on the panel by moving the object around.
Click to position the object.
(Optional) To edit the position of the inserted object, right-click it, and then click Properties. Then edit the settings of the positioning in the Folding part properties dialog box that appears.
 .
.