Inserting and resizing checkbox symbols

To add symbols to a design frame

  1. Open a design frame, and then on the Print toolbar, click Symbols .

A contextual edit bar appears above the graphical area.

  1. On the contextual edit bar: In Checked Icon, click the drop-down list, and then select the image for what you want the checked state of the symbol to look like; in Unchecked Icon, select what you want the unchecked state of the symbol to look like.

NOTE: Your installation comes with a set of icons for the checked and unchecked states of the buttons, listed in the drop-down lists on the contextual edit bar. The icon images are located in the EngViewWork7\Settings\ControlsSymbols folder of the installation. If you want to add an image other than the available, click the browse buttons to the right of the drop-down lists, and then load the new image. This image is then automatically copied to the controls symbols folder and will later appear in the drop-down list the next time you are about to insert checklist symbols.

  1. In the graphical area, begin moving the mouse pointer to where you want to position the symbol.

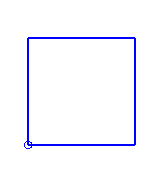
A square appears as you are moving the mouse pointer.

  1. When you have reached the place where you want to position the symbol, click.

The symbol appears in its checked state.

  1. (Optional) To position more symbols, repeat Steps 1–4.
  2. To cancel the symbol-positioning mode, click ESC.

Resizing symbol icons

After you have positioned a symbol, you may need to resize it.
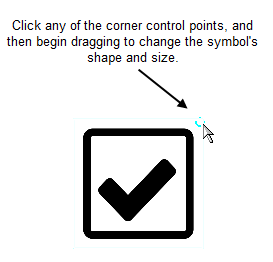
To resize a symbol

  1. Position the mouse over the symbol to see the enclosing defined by the control points.
  1. Click any of the control points at the symbol's corners (pictured).
  1. Begin dragging until the symbol has the size you need.