You can define your own, custom material and then export it — for example, to make sure it is the same material that you and your colleagues will be using across a company. To add a material to your materials library, you need to import it.
The Export/Import Materials Catalog dialog box appears, in which you can see the materials of your installation — default ones and custom.
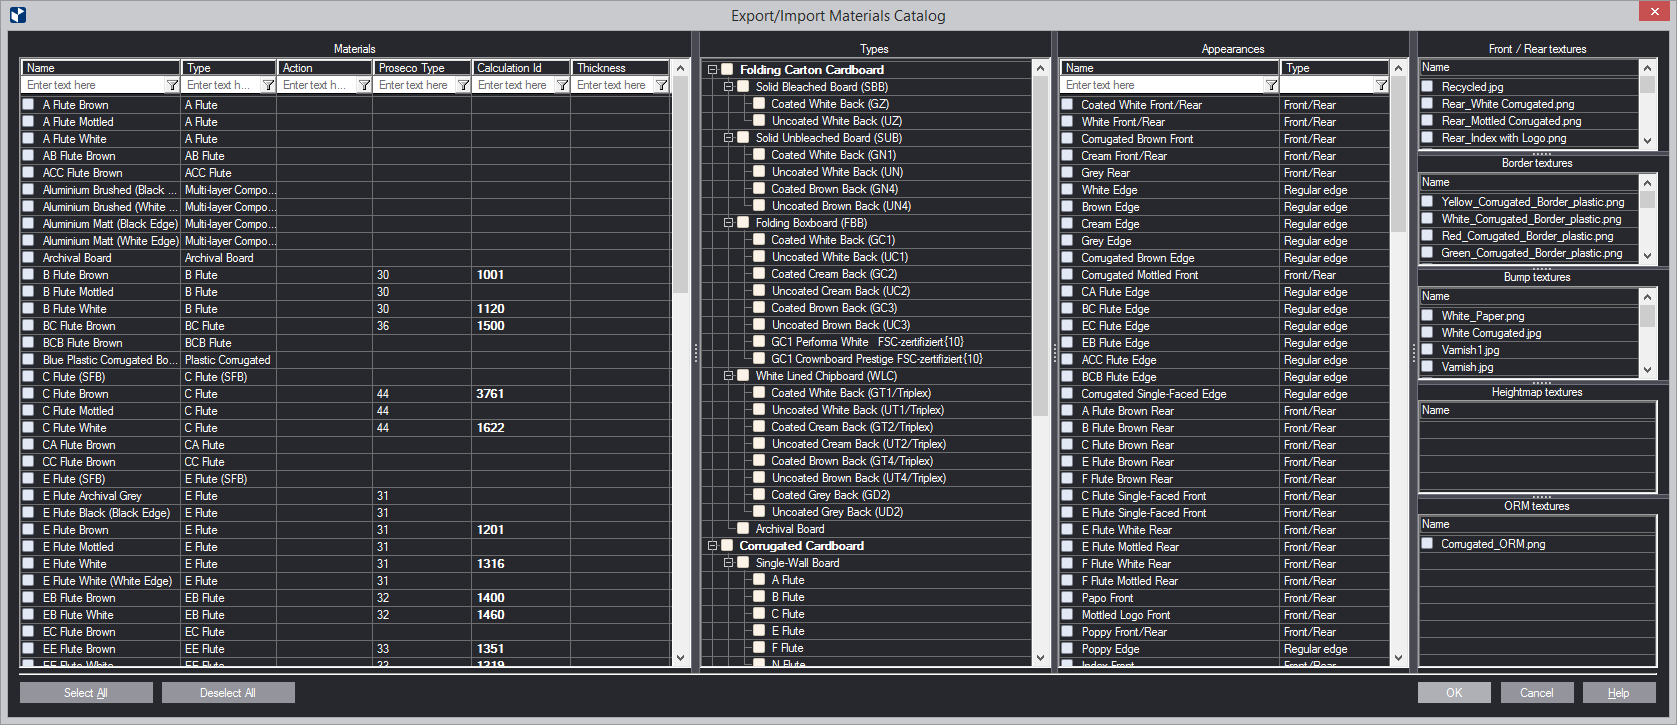
| Types | |
|---|---|
| Appearances | |
| Textures: Front/Rear | The files defining the textures for a surface's front and rear sides. |
| Textures: Border | The files defining the textures of surface's borders. |
| Textures: Bump | The files defining any bumps you want to apply onto surfaces. Learn more about how to bumps. |
| Textures: Heightmap | These are raster images stored in a greyscale format. In a heightmap, a texture is described by each of its pixels having a value from pure white to pure black. Learn more about how to heightmaps. |
| Textures: ORM textures | Images tiled across the surface in a pattern. Learn more about how to define ORM textures. |
Selecting materials and their properties takes place in left-to-right order. As you select a material, its type and appearances set during the definition of the material are selected too, respectively, in the Type and Appearances panes. Also selected automatically are additional properties of the material such as textures, borders, bumps and height maps.
This automatic right-to-left selection ensures that the material you select will be exported along with all the properties that define it.
The Open dialog box appears.
The Export/Import Materials dialog box appears, displaying the list of materials that you can import into your installation as it was created during the export of the file.
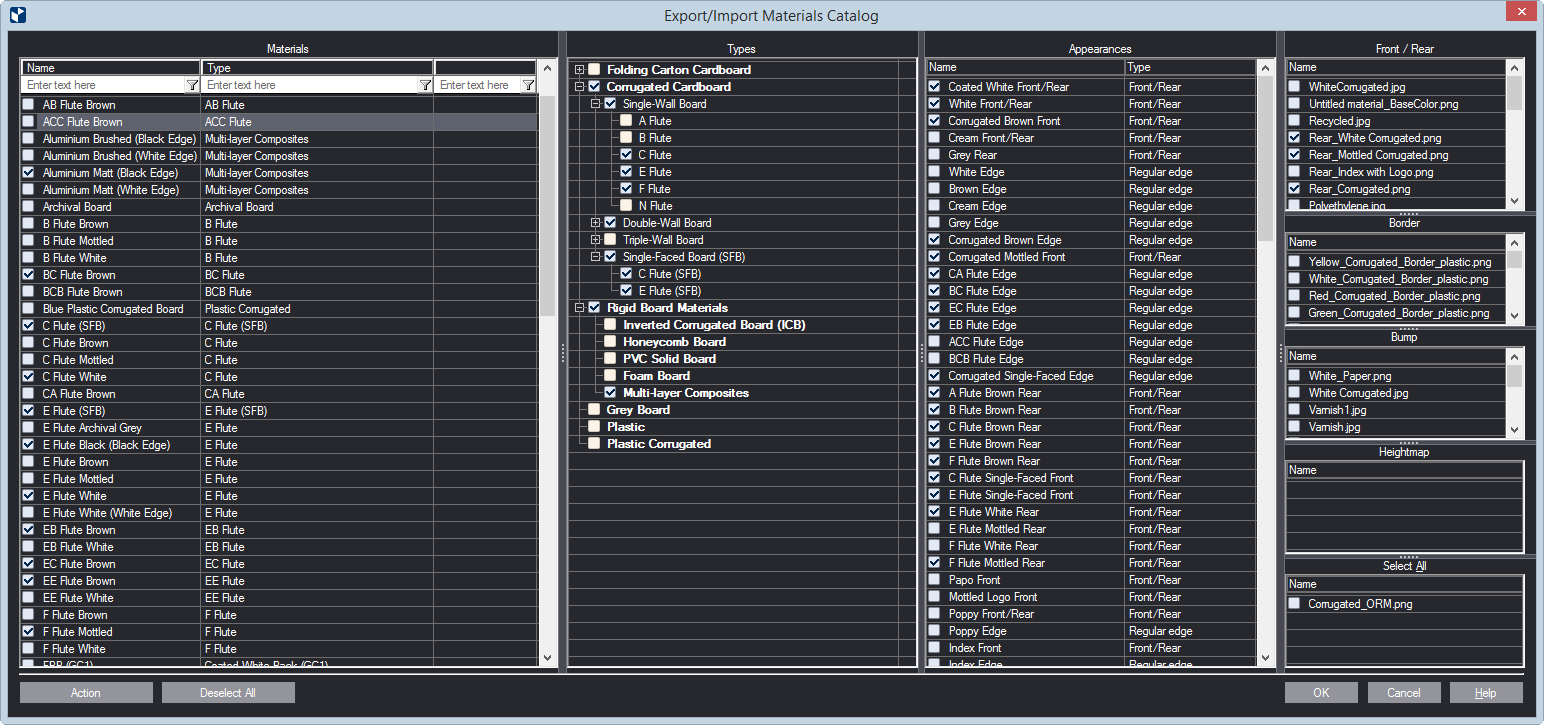
Records in black indicates materials that are new to your installation. For these materials, you see no available actions in the Action column. Records in blue indicate materials that exist in your installation, in terms of either properties or names. For these records you see available actions in the Action column.
By default, all the materials are selected and ready to be imported.
| Types | |
|---|---|
| Appearances | |
| Textures: Front/Rear | The files defining the textures for a surface's front and rear sides. |
| Textures: Border | The files defining the textures of surface's borders. |
| Textures: Bump | The files defining any bumps you want to apply onto surfaces. Learn more about how to bumps. |
| Textures: Heightmap | These are raster images stored in a greyscale format. In a heightmap, a texture is described by each of its pixels having a value from pure white to pure black. Learn more about how to heightmaps. |
| Textures: ORM textures | Images tiled across the surface in a pattern. Learn more about how to define ORM textures. |
NOTE ON DESELECTING ITEMS: Reading the dialog box takes place in right-to-left order. That is, if you deselect an item that is a property of an item in a left-positioned pane, the latter item will be deselected automatically, because it cannot be used without the item you have selected. For example, if in the image above you deselect the Border_ICB.png border from the textures pane, EngView will deselect also the following:
| Override | Replaces the existing material, its type, appearance, textures and other properties with the new one. |
|---|---|
| Rename | Lets you give a new name to the item you are importing. Consider
two cases:
CASE 1: You can use a name for the item that is more meaningful to you than the original one. CASE 2: In case an item is identical with the one you are importing, you can import the new one using a different name. This way you have two identical items, each one with its own name. |
| Substitute | You are importing an item that you do not want and want to use an existing one instead. For example, you are about to import a material that has an appearance called Gold. You want to import the material but do not want to import the appearance, preferring to use the existing appearance Golden. In this case, in Appearance area, double-click the record of the Gold appearance, and use the Substitute action to apply the existing Golden appearance to the material and ignore its original Gold appearance. |
| Use existing | Applies an already-existing item with identical properties. For example, you are about to import a material that has an appearance Gold. But there is an identical appearance in your installation with the same name. In this case, in the Appearance area, double-click the record of the incoming Gold appearance, and use the Use existing action to apply the existing Gold appearance and ignore its original Gold appearance. The material will be imported and your existing appearance will be applied to it. |