..
..The number of chase holes used in a dieboard depends on rules and/or various technical preferences, each of which apply for a specific dieboard. The chase holes which will be used in a dieboard can be set manually (by selecting them with the mouse) or automatically, in accordance with custom rules.
Chase holes can be of various shape
IMPORTANT: In a dieboard, chase holes can be selected only if the use of chase holes is enabled for the dieboard. For details about how to enable the use of chase holes, see selecting a dieboard.
For a dieboard, the use of chase holes must be enabled so that they appear and be selected.
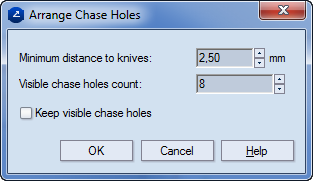
When chase holes are selected automatically, you set the minimal distance of the chase holes to the cutting knives and the total number of chase holes that you want the dieboard to have. Then Package Designer makes an arrangement of the chase holes across the dieboard.
To use automatic chase holes selection
..A grid of template-dependent chase holes appears on the dieboard drawing. Also, a contextual edit bar appears above the graphical area, containing a single button for chase hole arrangement.
 A dieboard drawing with chase holes selected by default (in dark color)
.
A dieboard drawing with chase holes selected by default (in dark color)
.The Arrange Chase Holes dialog box appears.
Notes
Selecting chase holes manually
NOTE: When chase holes are selected manually, you use the mouse to indicate the chase holes that you want to use.
..A grid of template-dependent chase holes appears on the dieboard drawing.