Modifying the normal.evt template file into a new template
file
You can make a copy of the normal.evt template file and modify it to
create a new file that you can use for printing or export jobs.
To copy the normal.evt file
- On the Tools menu, click Save Template As.
The Open dialog box appears opening the Settings
folder of your installation.
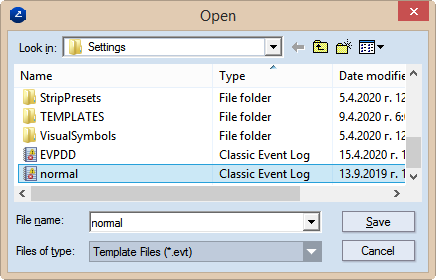
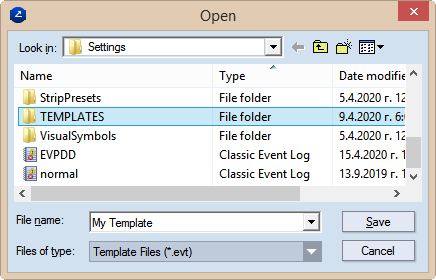
- Select the normal.evt file, and edit its name as you want it to
be.
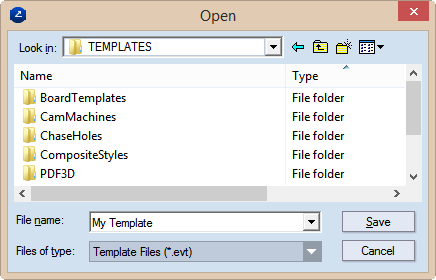
- Browse to the Templates folder (usually a subfolder in the same
directory).
- Save the new file in the TEMPLATES folder.
You have just created a copy of the normal.evt
template file. This copy is also the active template file that EngView is
working with. You need to again load the original normal.evt file.
- On the Tools menu, click Attach Template, and then
browse to load your original template file.

After you have attached the original file, you
can continue with the editing of the copy.
- On the Tools menu, click Edit Export Template.
- Select the template that you want to work with, and then click
OK.
The Global Styles dialog box opens.
- Edit the global properties of
the styles that you will need for printing or exporting. See examples:
- In the Production tab, edit the line width. (This most offen involves
changing the production width of a style to serve printing purposes.)

- In the Visual tab, edit the color and the pattern of the style.

- After you have modified the styles' properties, click OK.
The template is now ready
for use.
top of page