To use your own UI strings in your installation

You might want to see some UI strings different from the ones that the program comes with. To do this, you can edit:

The procedure that follows will guide you through the steps you need to do to edit the UI text strings.

Take a look at the following pairs of images, which show how you can edit default UI strings to suit your own purposes.

Installed Control Strings Installed Control Strings

Here are the steps you need to edit UI strings.

Step 1: Contact EngView

To edit UI strings, you need the special .txt file that contains the IDs of the program's controls. To receive this file, write to support@engview.com, and explain what you want to achieve. EngView will send you the file and will offer assistance about how to proceed.

Step 2: Locating and editing the UI control IDs

  1. When you have the file, use a source code editor to open it.
  2. Use CTRL+F to locate the string that you want to edit.
  3. When you have located the string, type the new value as you need it, like this:
Installed Control Strings
  1. Repeat Steps 2-3 for each string that you want to edit.
  2. When done with the editing, save the file and close it.

Step 3: Loading the edited file into EngView

For EngView to recognize the edited strings, you need to load the edited file into your installation.

  1. On the Tools menu, click Options, and then click the File Locations tab.
  2. In the Shared Settings section, locate the Language translations overrides row. By default, it is empty.
Translations Overrides Row Empty
  1. In the row, type the path to where you have saved the translated file, or use the browse button, and navigate to the folder.
Translations Overrides Row Filled
  1. When you have entered the path to the file, click OK.

Step 4: Checking the edited UI strings

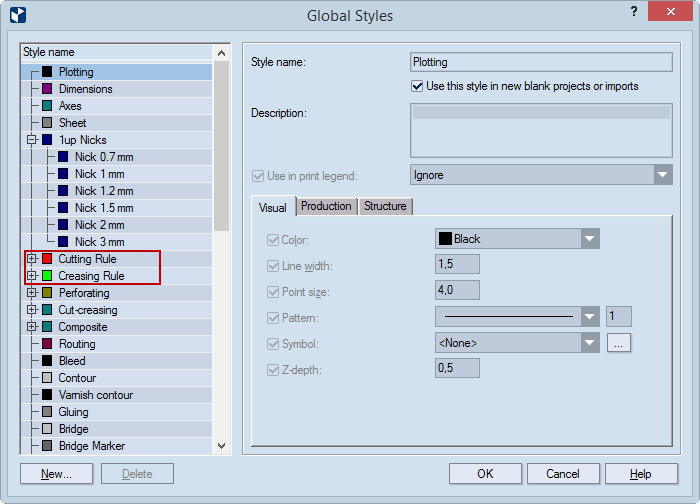
  1. Go to the dialog boxes that contain the UI controls whose strings you edited. They now show the edited strings.