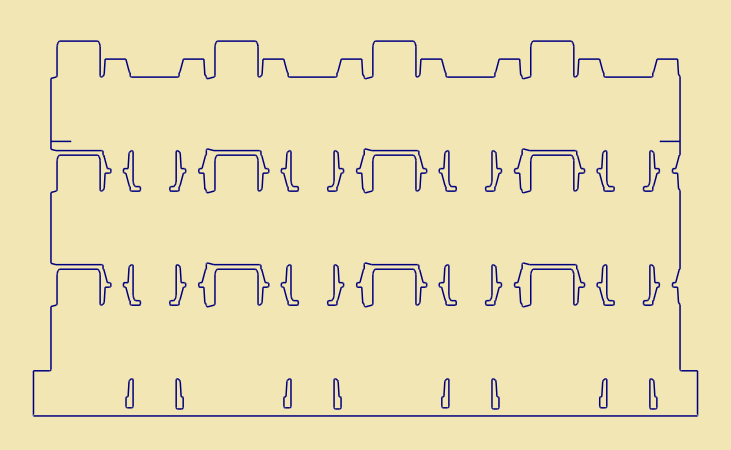
The stripping dies are generated after the definition of the die contours.
Visual: Adding a dieboard to the dieboard database
![]() Click the icon to watch the video. Runtime: 2:50 min.
Click the icon to watch the video. Runtime: 2:50 min.
 .
. is pressed in.
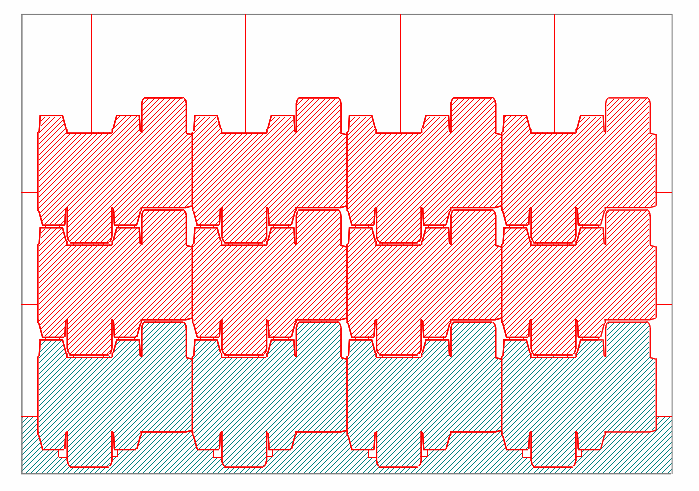
Link the unclosed contours (see the video).
On the Diemaking tab, click Generate Stripping Dies  .
.
The Stripping Dies Generation Options dialog box appears.
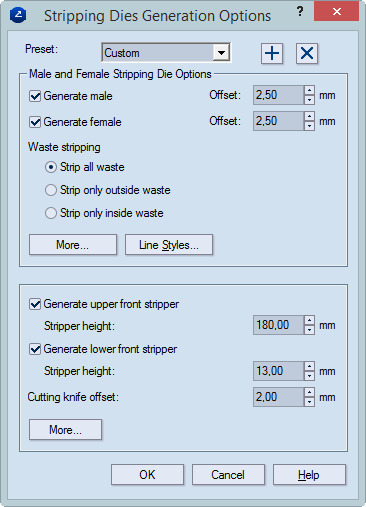
Click OK.
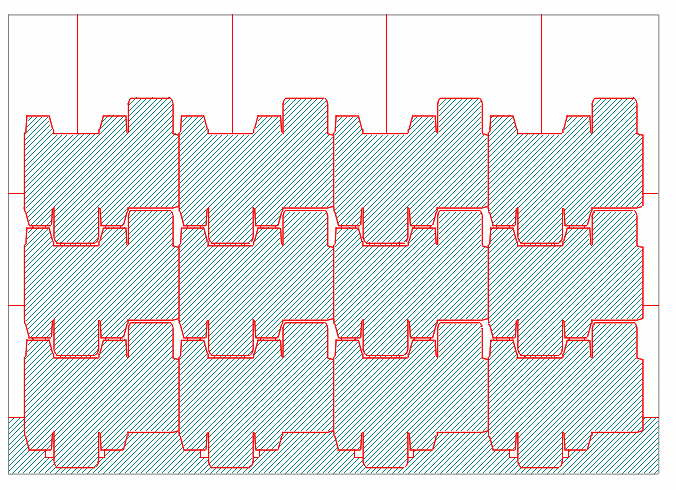
The male and the female stripping dies are generated. (In the images, the appearance of the parent drawing has been switched off.)
The male stripping die
The female stripping die
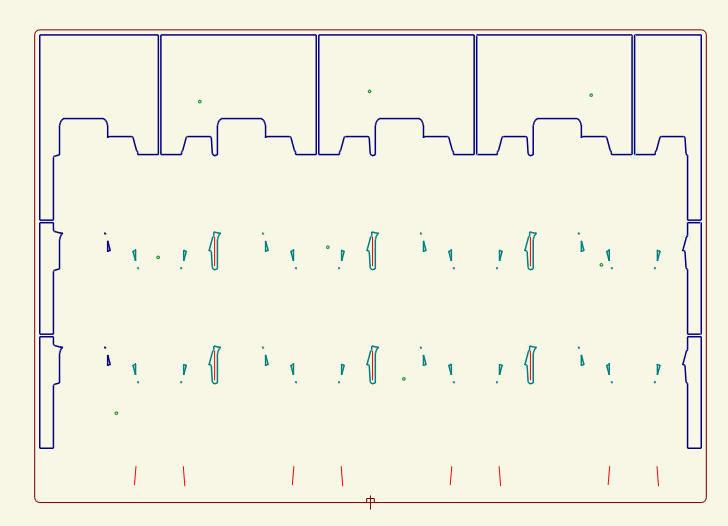
In the male stripping die, draw additional stripping objects in the Stripping style.
NOTE: To ensure that all additional stripping objects are identical and identically positioned, make sure that Repeat Changes is pressed in.
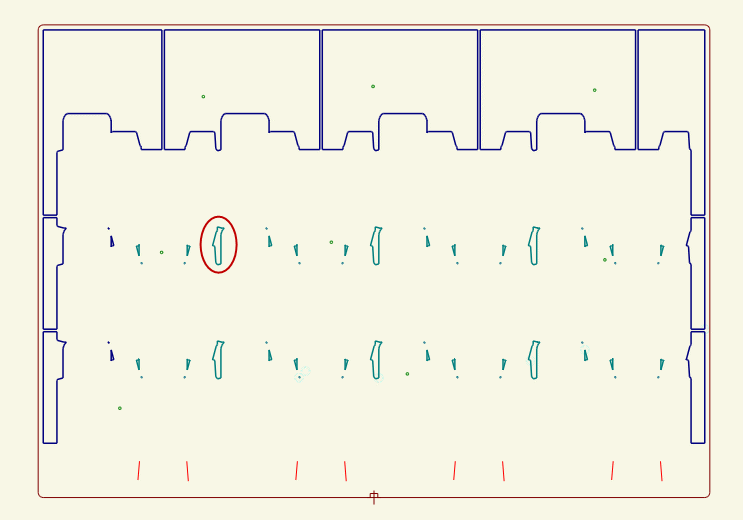
The place where additional stripping objects should be drawn.
NOTE: This is an example: you can draw the additional stripping elements where you need them.
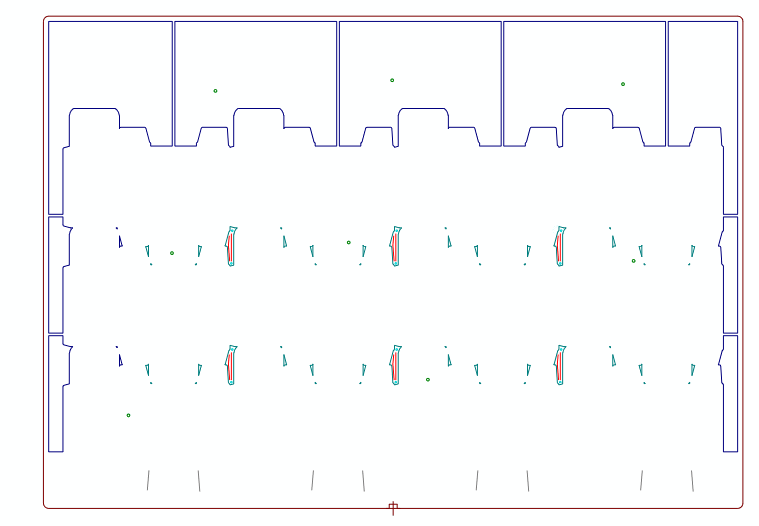
After the additional stripping objects have been drawn
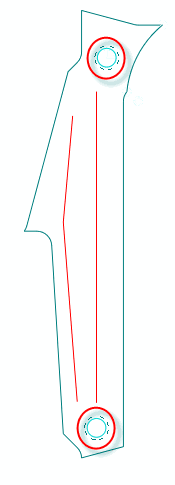
Strip pins (highlighted) are inserted to carry out the stripping of waste.