.
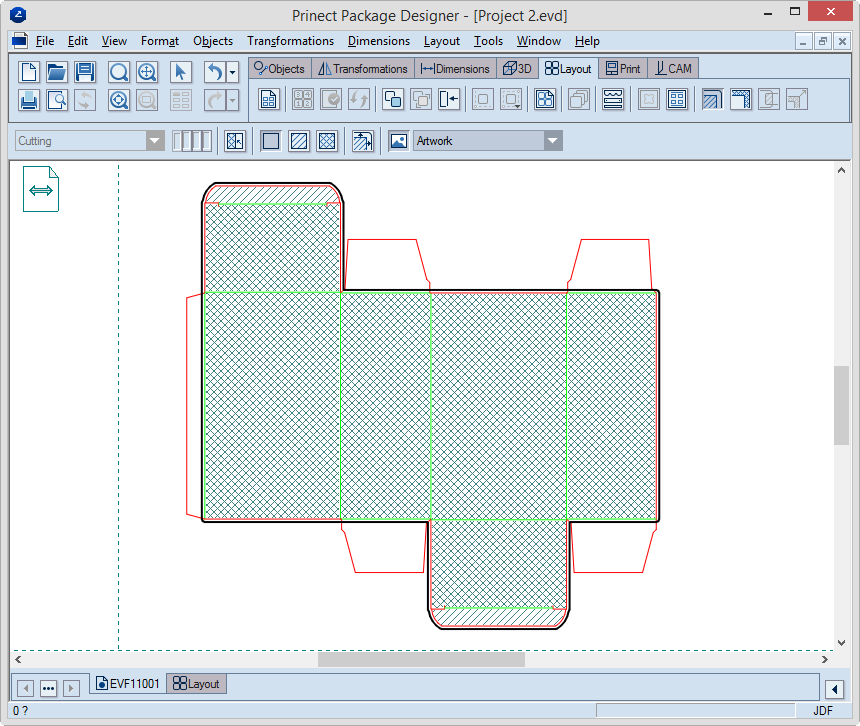
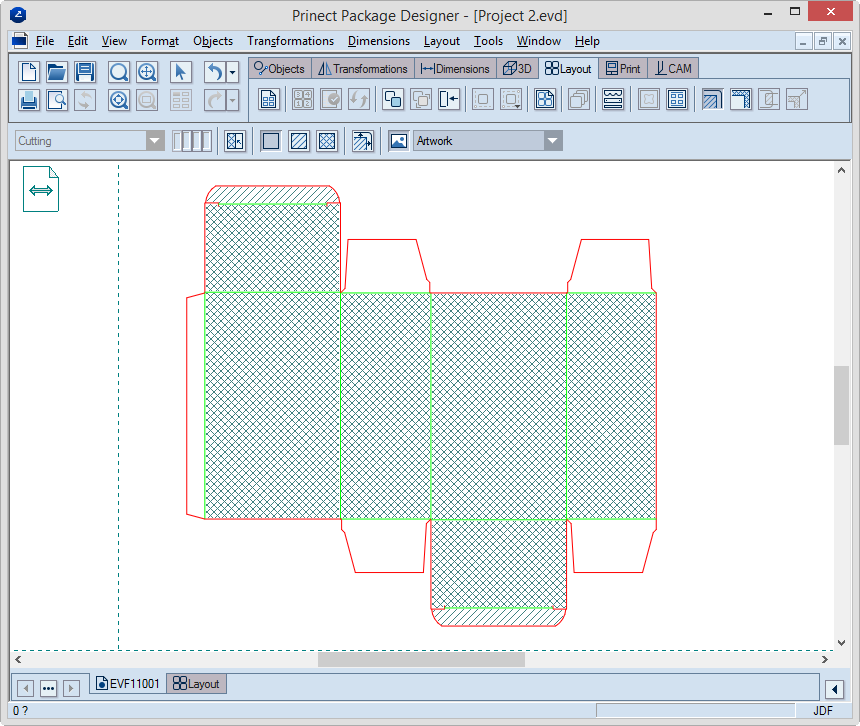
.When you place artwork onto a packaging design, you need to define the areas that are vital for the placement of artwork. Once defined, these areas are then used for the generation of bleed. If then clip path conflicts occur in the layout, the defined areas are used to resolve them automatically.
NOTE: If some conflict resolutions are applied to an existing bleed, this bleed is locked. Therefore, when you start editing the bleed, a warning appears notifying about the previously locked bleed and offering an option to unlock it and lose the clip path conflict resolution done to that moment.
To generate bleed
NOTE: The procedure that follows is the automatic way of generating a bleed. If for some reasons you want to generate bleed by hand, use the modes for offset or hull. Functionally, the manually and automatically generated bleeds are identical.
.A contextual edit bar appears above the graphical area.
 , and then,
in the design, consecutively click the areas that will be free of
artwork.
, and then,
in the design, consecutively click the areas that will be free of
artwork. ,
and then, in the design, consecutively click the respective areas.
,
and then, in the design, consecutively click the respective areas. , and then, in the design, consecutively
click the respective areas.
, and then, in the design, consecutively
click the respective areas. .
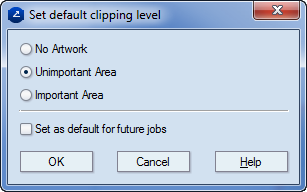
.NOTE: The Set default clipping level dialog box will appear, in which you can set a default clipping area that the program will use in future.
 .
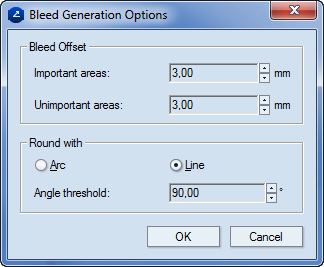
.The Bleed Generation Options dialog box appears.
An example of generated bleed on a design.