Video Tutorial: Modifying resizable designs: Changing the glue flap position
In this video, the position of a glue flap position in a resizable design will be changed as a way of how to modify a design.
Video: Changing the glue flap position
Click the icon to watch the video. Run time: 1:13 min.
PROCEDURAL STEPS
Open the resizable design EVF11040 Straight Friction Tuck.evr.
Press F4 to zoom the drawing to fit.
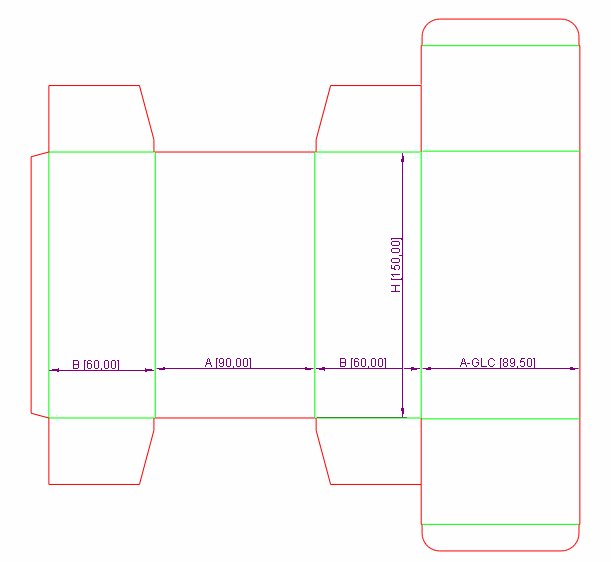
Delete the glue flap: select the glue flap, right click, and then click Delete on the context menu.
In the tabular area, click the Synergy Components tab, browse Synergy Components | Individual Components | Glue Flaps, and then click Glue Flap.
Drag the Glue Flap 1 component and attach it to the opposite, outermost side.
Change compensation corrections of the outermost panels: double-click the panel that has been initially attached to the glue flap, and, in the Component Parameters dialog box that appears, correct the values of GL to 10, of #X1 to B, and of #X4 to A-GLC.