.
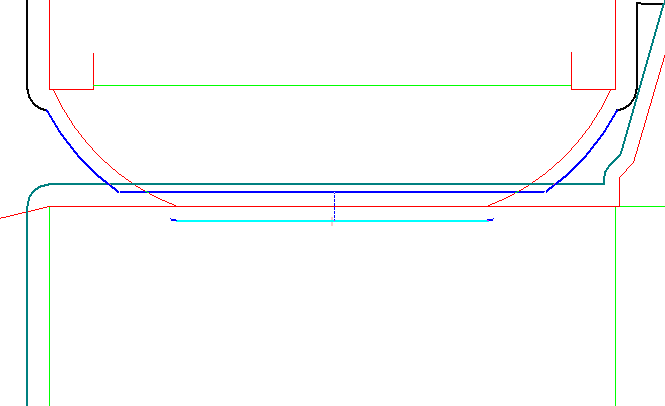
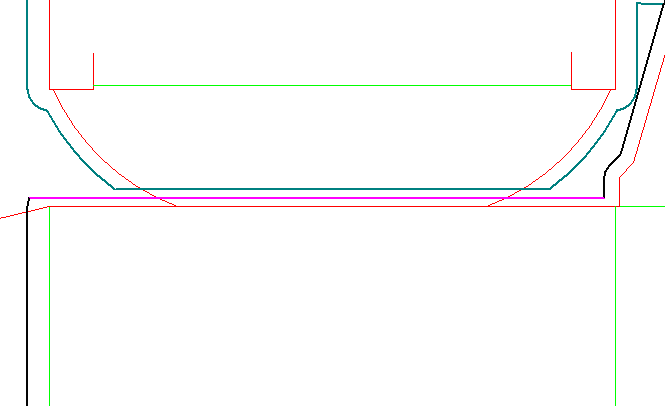
.By modifying the bleed you modify the bleed by dragging its outlines with the mouse. You can make multiple selection and drag all selected objects together until you separate the overlapping parts.
To modify the bleed
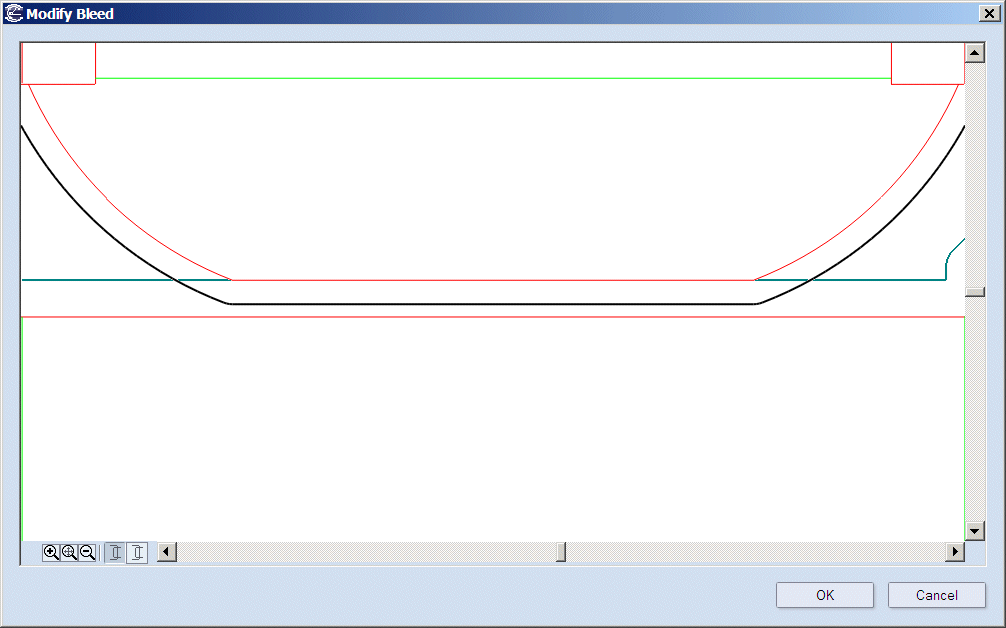
.The Modify Bleed dialog box appears, in which you can add additional lines or arcs to the bleed, as well as relocating the lines of the bleed.
 .
.NOTE: Use the buttons to select the parts. Whichever part is selected, becomes active and its outline is colored in black. Selects one of the overlapping parts. The non-active part is colored in dark green.
TIP: To make multiple selections or remove an object from the selection, press CTRL and click the object that you want.