 .
.Inserting an external 3D object into a project
NOTE FOR USING IMPORTED 3D PDF MODELS: When working with folding sequences, apart from the ability to insert external objects, you can insert also imported 3D PDF models. But note that to qualify for insertion as an external object, a 3D PDF model must first be saved as a still scene in the software it was created with. As a result the individual folding sequence of the 3D PDF model will not be playable when the 3D object has been inserted into the hosting 3D model.
NOTE: Steps 1 to 4 of the procedure that follows apply for external 3D objects. Steps 5 to 8 apply for both external parts and objects. This is so because external parts are automatically added to the 3D Objects dialog box (see Step 1).
To insert an external 3D object into a folding sequence
.The 3D Objects dialog box appears.
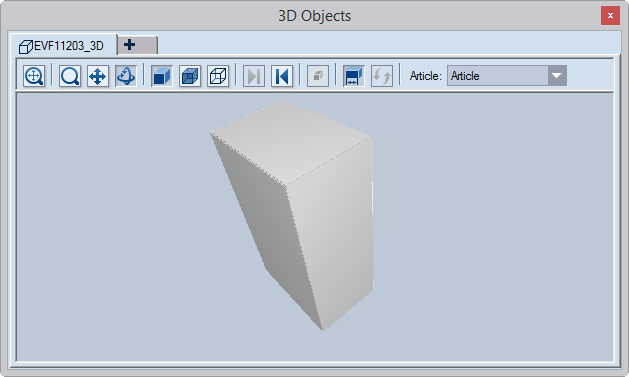
The dialog box displays the 3D drawings in the current project.
 .
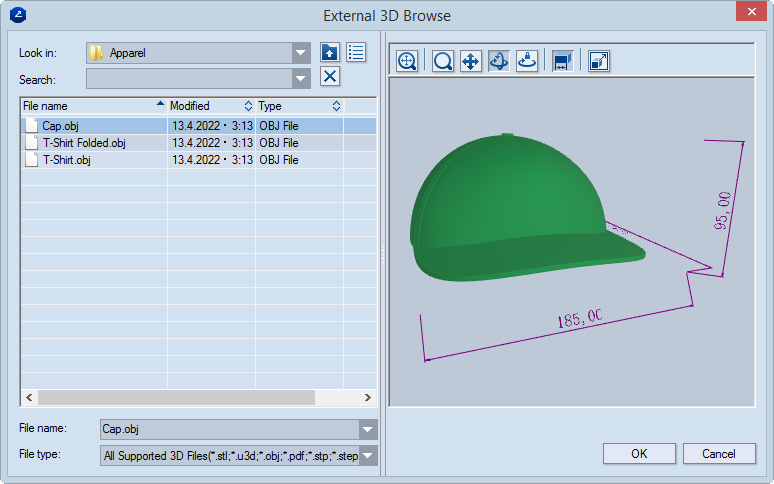
.The External 3D Browse dialog box appears.
A new tab appears in the 3D Objects dialog box. Its name is the same as that of the file name of the object.
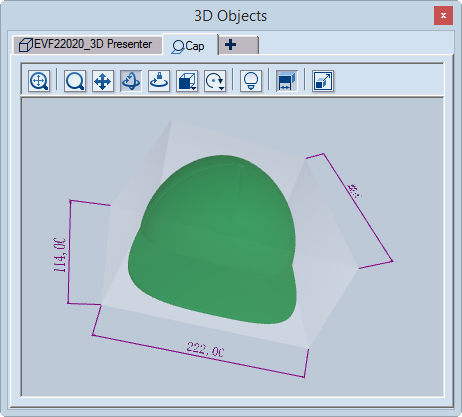
The 3D object appears inside a transparent frame that outlines its outer points.
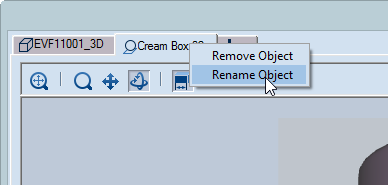
NOTE: To delete the tab of an external object, in the 3D Objects dialog box, right-click the object's tab, and then click Remove Object. This operation is allowed only for external objects that have not been inserted into the active 3D drawing. To delete an external object that has already been inserted into the 3D work area, in the 3D work area, remove the object, and then carry out the operation described in this note. The tabs of external parts cannot be deleted.
 .
.
| Scale | In Length, Height and Depth, enter necessary scaling factors by which EngView will scale the object's length, height and depth. NOTE: If you want the object scaled proportionally, select Keep aspect ratio, and then enter a scaling factor in Length. |
|---|---|
| Size | Еnter individual values in Length, Height and Depth. The object will scale according to these values. |
| Keep aspect ratio | When Scale is selected. When the Keep aspect ratio check box is selected, only Length is available. Entering a value there changes the values in Height and Depth in keeping with the aspect ratio. Clear the check box to start entering an individual value for each dimension. |
| When Size is selected. Changing any value changes the other two values in keeping with the aspect ratio. Clear the check box to start entering an individual value for each dimension. |
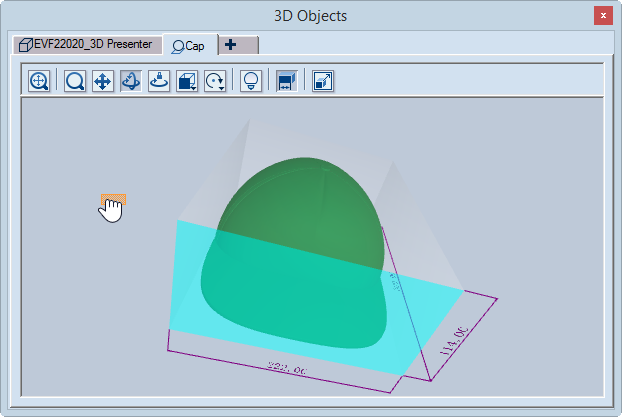
In the window, the colored field around the object and the hand indicate the dragging toward the 3D work area.
Renaming tabs in the 3D Objects dialog box
If you happen on external objects with curious or unmeaningful names, you can rename their tabs in the dialog box and give them names that make sense to you. This renaming comes in especially handy if you choose to extract these tabs' names for the purposes of creating design frames and print drawings.
The Rename External Object dialog box appears.
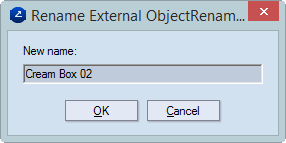
In the 3D Objects dialog box, the tab is now indicated with the new name.