Applying print marks in Adobe Illustrator projects
If while working with EngView's
integration with Adobe Illustrator, you want to apply print marks to your
layout drawing, you do so in EngView.
You then return to Illustrator to generate the final layout drawing
that you will use for production.
To applying print marks to Illustrator projects
- While in the Adobe Illustrator environment, open the file you are
working with in EngView.
- Apply the print marks.
NOTE: In EngView,
you can apply print marks in:
- 1up drawings. You do this mostly when you want to cut a sample.
Note that when you apply print marks in a 1up drawing and then you
decide to create a layout drawing, EngView
transfers the print marks to the layout drawing.
- Layout drawings. This is the standard case for production.
- Save the file and close it.
Back in Illustrator, you will not be seeing the
layout drawing and the applied print marks. This will happen after you
have generated a layout drawing (see Step 6).
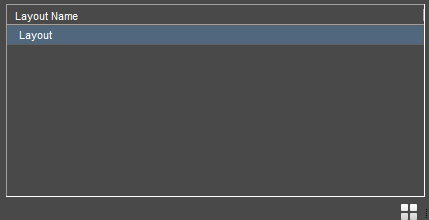
- In the Step and Repeat tab, select the layout drawing.
- In the lower section of the tab, click the bleed-applying
option that you want to work with.
- Click the button for generating the project's front (
 )
or rear (
)
or rear ( ) side.
Illustrator displays the generated layout where
you see also the print marks.