Modifying the bleed in the 1up

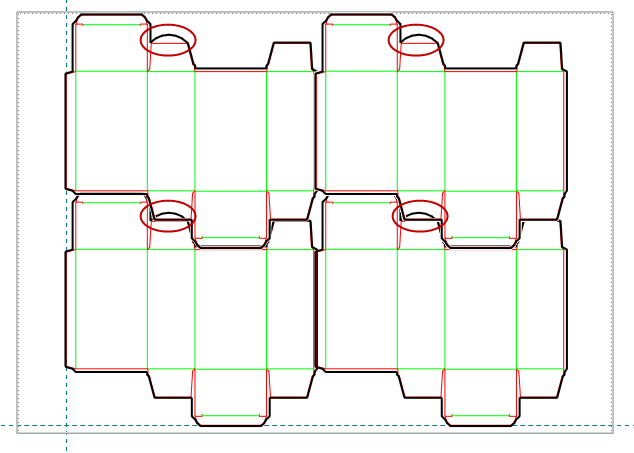
You can adjust the bleed in the 1up, and then, in the layout drawing, spread it across all layout 1ups.

To adjust the bleed in the 1up

  1. In the 1up drawing, generate the bleed.
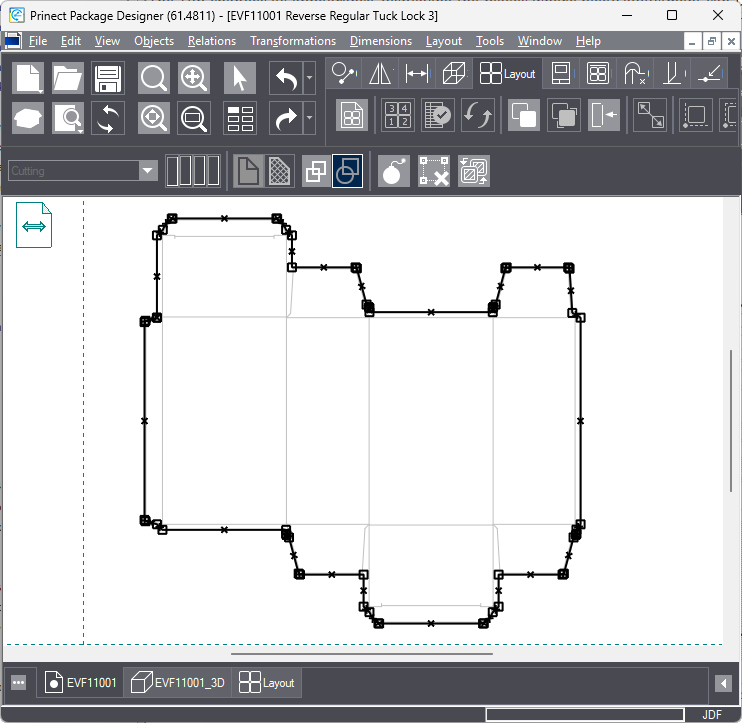
  1. On the Layout toolbar, click Modify Bleed .

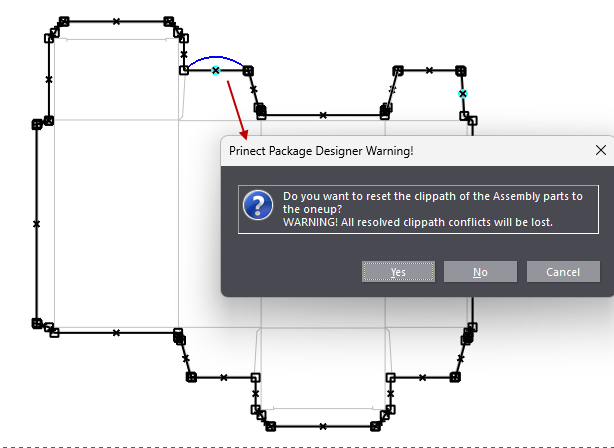
The 1up changes its appearance, displaying the places where bleed adjustment can be done.

  1. Use the mouse to adjust the layout: Click a marking — a cross point or a square — and drag the bleed line as you want it to be.

TECHNICAL NOTE: Bleed contour modification takes place when you click a marking and then drag it in the direction you need. If you need to transform the available lines and markings, further modifications are available: (1) For squares, pressing SHIFT + mouse click removes the square and merges the two lines that it links into a single line; (2) for cross points, pressing SHIFT + mouse click breaks up the line into two and turns the cross point into a square.

  1. Go to the layout drawing and select a layout 1up.
  2. On the Layout toolbar, click Replicate/Restore Bleed .

A contextual edit bar appears above the graphical area.

  1. To apply the changes made to the bleed in the 1up drawing, click Restore to 1up .

The bleed in the layout 1up adopts the changes made in the 1up drawing.

  1. Ensure that the layout 1up stays selected.
  2. To apply the changes to the rest of the layout 1ups, click All as selected .

The changes in the bleed are now applied across the layout.