| Icon | Name | What It Does | |
|---|---|---|---|
| 01 |  |
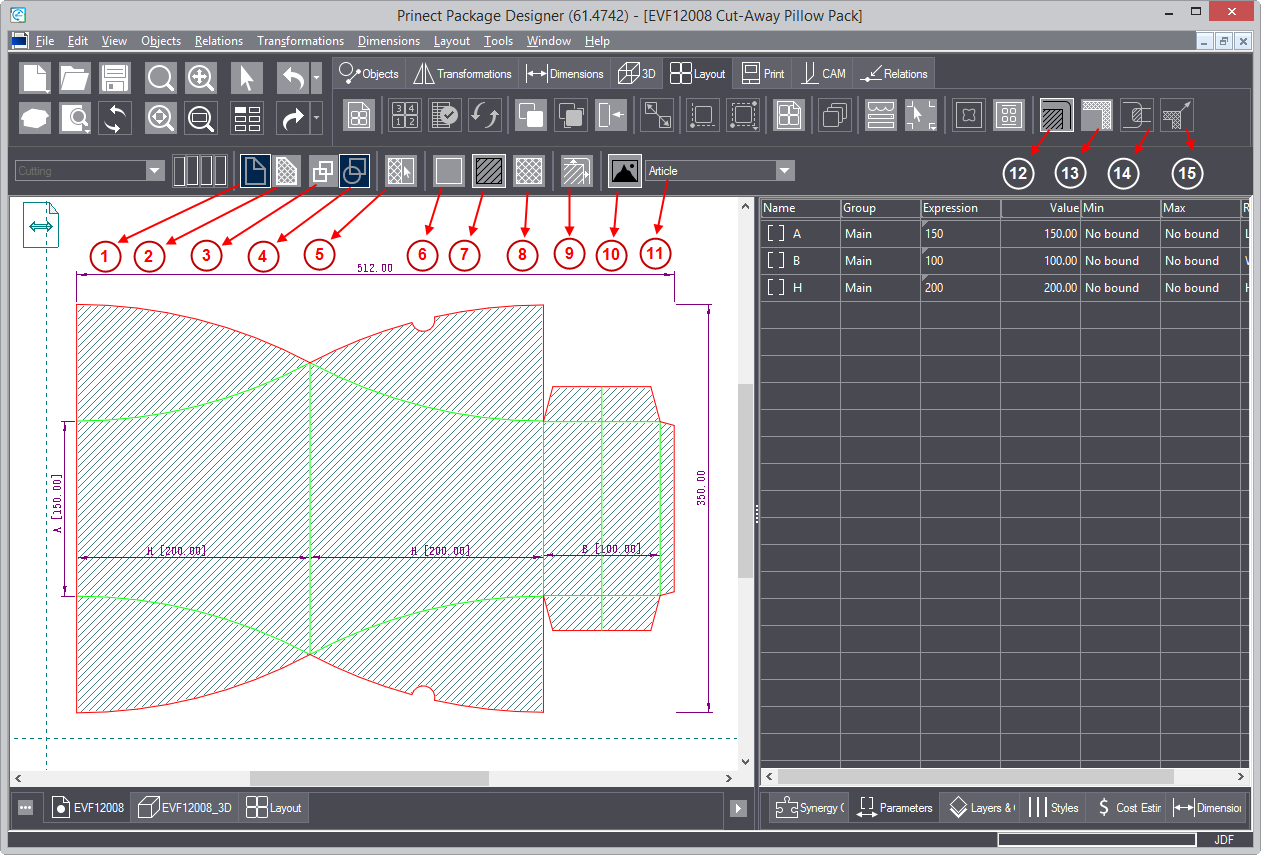
View Front | Makes the design's front side face you on the screen. |
| 02 |  |
View Back | Makes the design's rear side face you on the screen. |
| 03 |  |
Same Front Rear | Turns on the mode in which you make the front and the rear bleeds identical. You can do this while generating bllleds for the first time or when you have different bleeds and want to apply one of them apply to both side. |
| 04 |  |
Different Front Rear | Turns on the mode in which you make the front and the rear bleeds different. You can do this mostly when you have identical bleeds and want to apply a different one on each side. |
| 05 |  |
Set All Regions | Opens a dialog box in which you can set a default indication of the important and unimportant zones. |
| 06 |  |
No Artwork Area | Turns on a mode in which you can set zones that will not contain artworks. |
| 07 |  |
Unimportant Area | Turns on a mode in which you can set unimportant zones. |
| 08 |  |
Important Area | Turns on a mode in which you can set important zones. |
| 09 |  |
Generate Bleed | Applies the bleed as set by (un)important zones. A dialog box appears in which you set the necessary bleed offsets. |
| 10 |  |
View Image | Turns on/off the display of images on the design. |
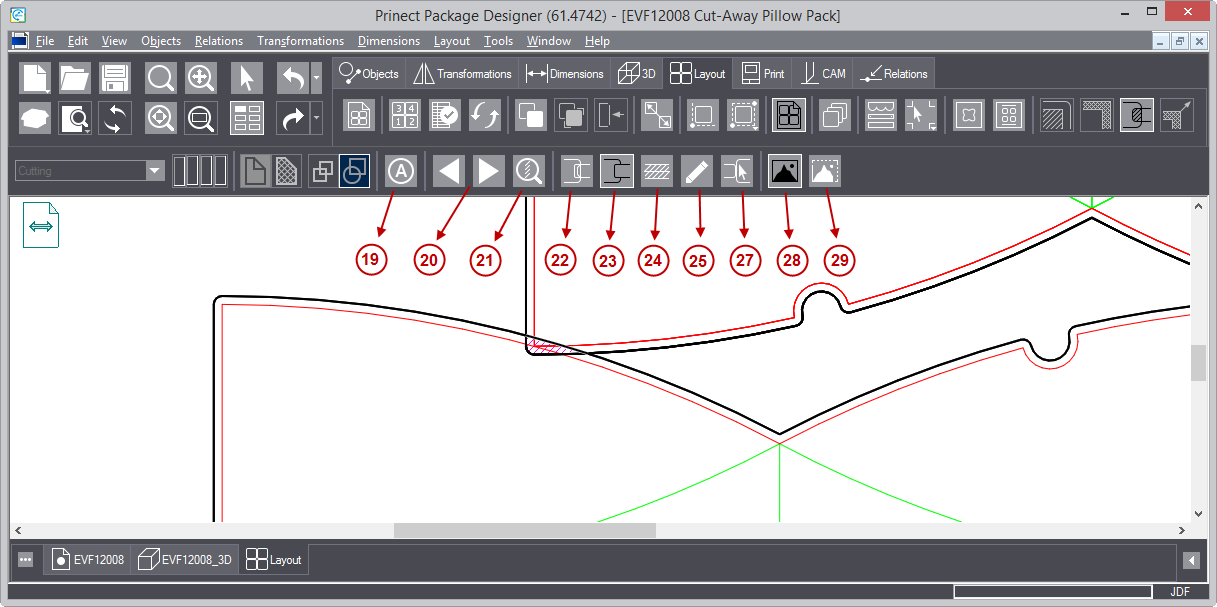
| 11 | Article Dropdown | Applied Article | A list of the available articles that can be applied to the active design side. |
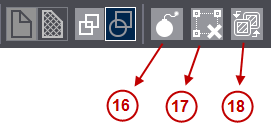
| 12 |  |
Generate Bleed by Levels of Importance | Turns on the mode for generating bleeds and displays the bleed-related toolbar above the graphical area. Once the mode is active, you can begin marking out areas of importance, bleed offsets and other bleed-related procedures. |
| 13 |  |
Modify the Bleed | Turns on the mode for modifying an already-generated bleed. |
| 14 |  |
Clippath Conflict Resolution | In layout view, starts the mode for resolving conflicts between overlapping bleeds and finding the optimal array. |
| 15 |  |
Replicate/Restore Bleed |
The Bleed Modification mode
The following buttons are active when you turn on the bleed modification mode.