|
New 3D Presenter Drawing |
Creates a 3D drawing from a 1up drawing. |
 |
Export 3D Drawing |
(In a group with the Upload to Share Space button) Opens
a dialog box in which you can set the options for exporting
a 3D file. |
 |
Upload to Shared Space |
(In a group with the Export to File button) Opens a dialog
box in which you can set the options for uploading
a 3D model to the Shared Space. |
 |
Create Layout From 3D |
Opens a dialog
box in which you choose which and how many parts from
a multiple-part project will be arrayed in a layout to be
cut. |
 |
Set Base Panel |
When you click the button, the base
panel takes central position in the graphical area. |
 |
Generate Production Phase |
Opens a wizard in which you arrange a production
phase. |
 |
3D Measure Lines |
Starts the mode for adding
measurement lines for selected distances in the 3D model. |
 |
Fold to Snap |
Starts the mode for intuitive
folding of panels by pointing and selecting their edges. |
 |
Intersect |
Turns on the mode for intersecting
external 3D objects. |
 |
Zoom |
Starts the zooming mode for the graphical area. |
 |
Fit |
Makes the design in the graphical area fit the current
size of the area. |
 |
Pan |
Starts the mode in which you can move the design horizontally
across the graphical area. |
 |
Turn |
Starts the turn mode, in which you can rotate the design. |
 |
Single Axis Rotation |
Starts the mode in which you can rotate the 3D model along
a single axis, the direction being defined by how you move
the mouse. |
 |
View Side |
Rotates the model so that the selected side faces the viewer. |
 |
Show Images |
Displays any images applied onto panels. |
 |
Solid |
(In a group with the Solid Wired buttons) Displays the
panels of the 3D model as nontransparent. |
 |
Solid Wired |
(In a group with the Solid, Transparent and Wireframe buttons)
A viewing mode that is a combination between the Solid and
Wireframe modes. Displays edges in greater
relief. |
 |
Transparent |
(In a group with the Solid, Solid Wired and Wireframe buttons)
Displays the panels of the 3D model as transparent. |
 |
Wireframe |
(In a group with the Transparent and Solid buttons) Displays
the edges of the 3D model hiding the panels. |
| |
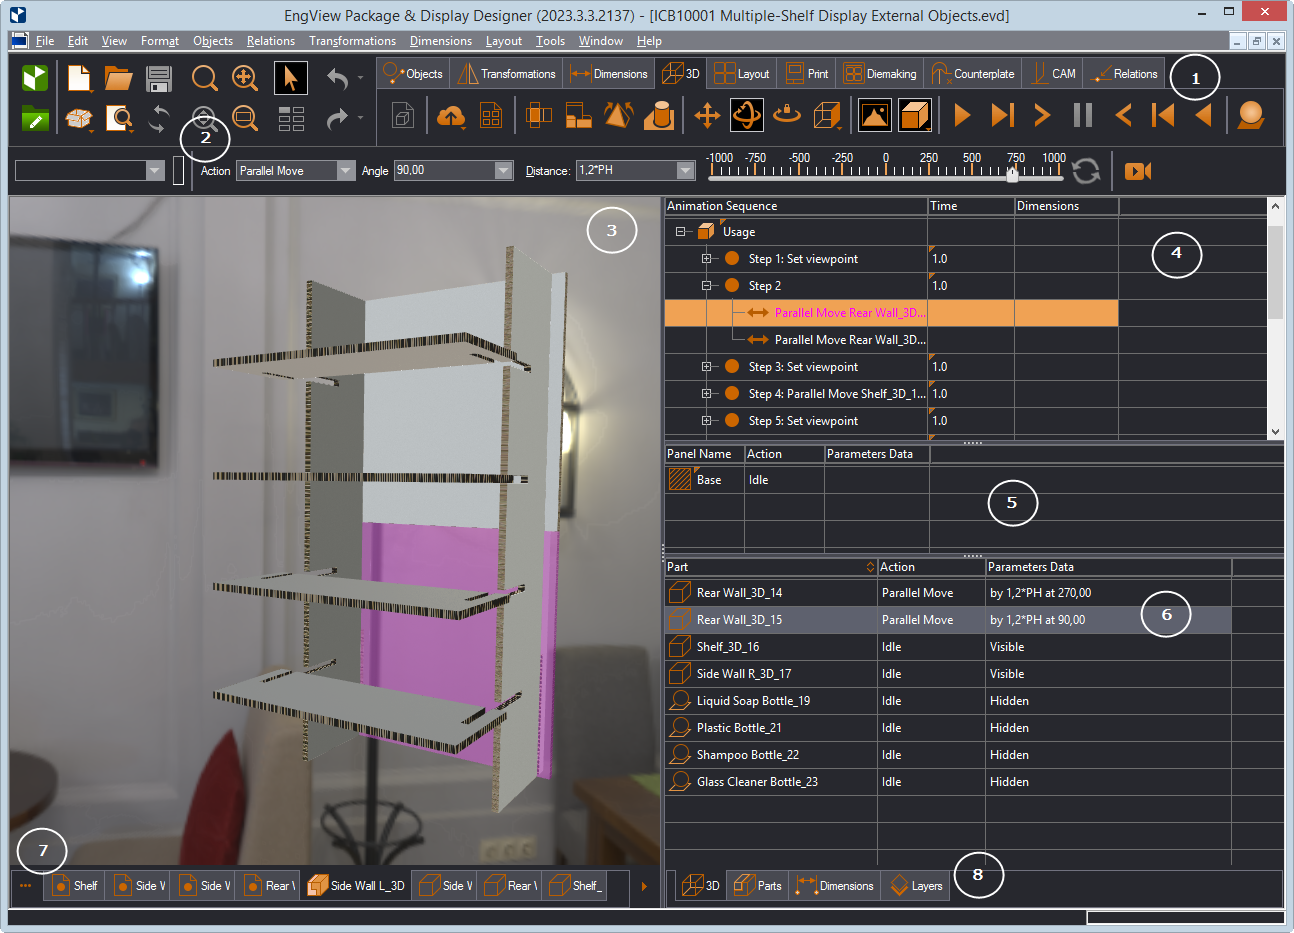
Phase navigation |
Navigation buttons for playing back a folding sequence.
That includes: playing back the folding sequence, folding
a selected phase, folding the selected step, pausing, unfolding
a step, unfolding a phase, reverse-playing the folding sequence. |
 |
3D Objects |
Opens a dialog
box in which you can select an external object to insert
into the 3D model. |